Affordable Waterproof LVP Flooring in Augusta, GA
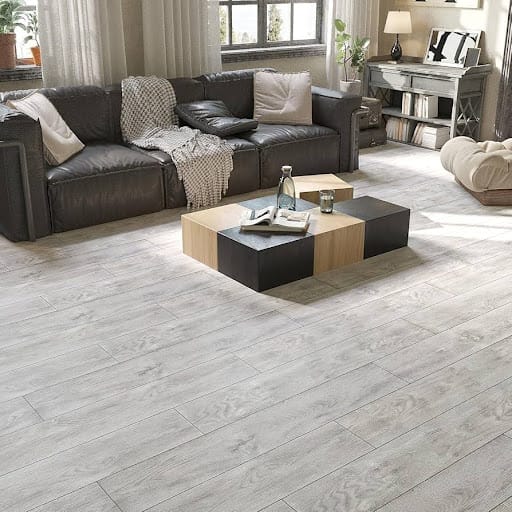
$2 to $2.5 Waterproof LVP in Augusta | Affordable Durable Flooring Discover why waterproof luxury vinyl plank (LVP) floo...
Read the full article →

Want to learn how to install laminate flooring? If so, you’ve come to the right place!
Installing laminate flooring is not something that only professionals can do. With some proper understanding and the right tools, it is a project that anyone can do, especially for those who love a good DIY-project. Not only does it require relatively few tools, but it is something you can do in almost any room of your home.
PRO TIP: Read our article on laminate vs. hardwood flooring. We know you’ll enjoy it.

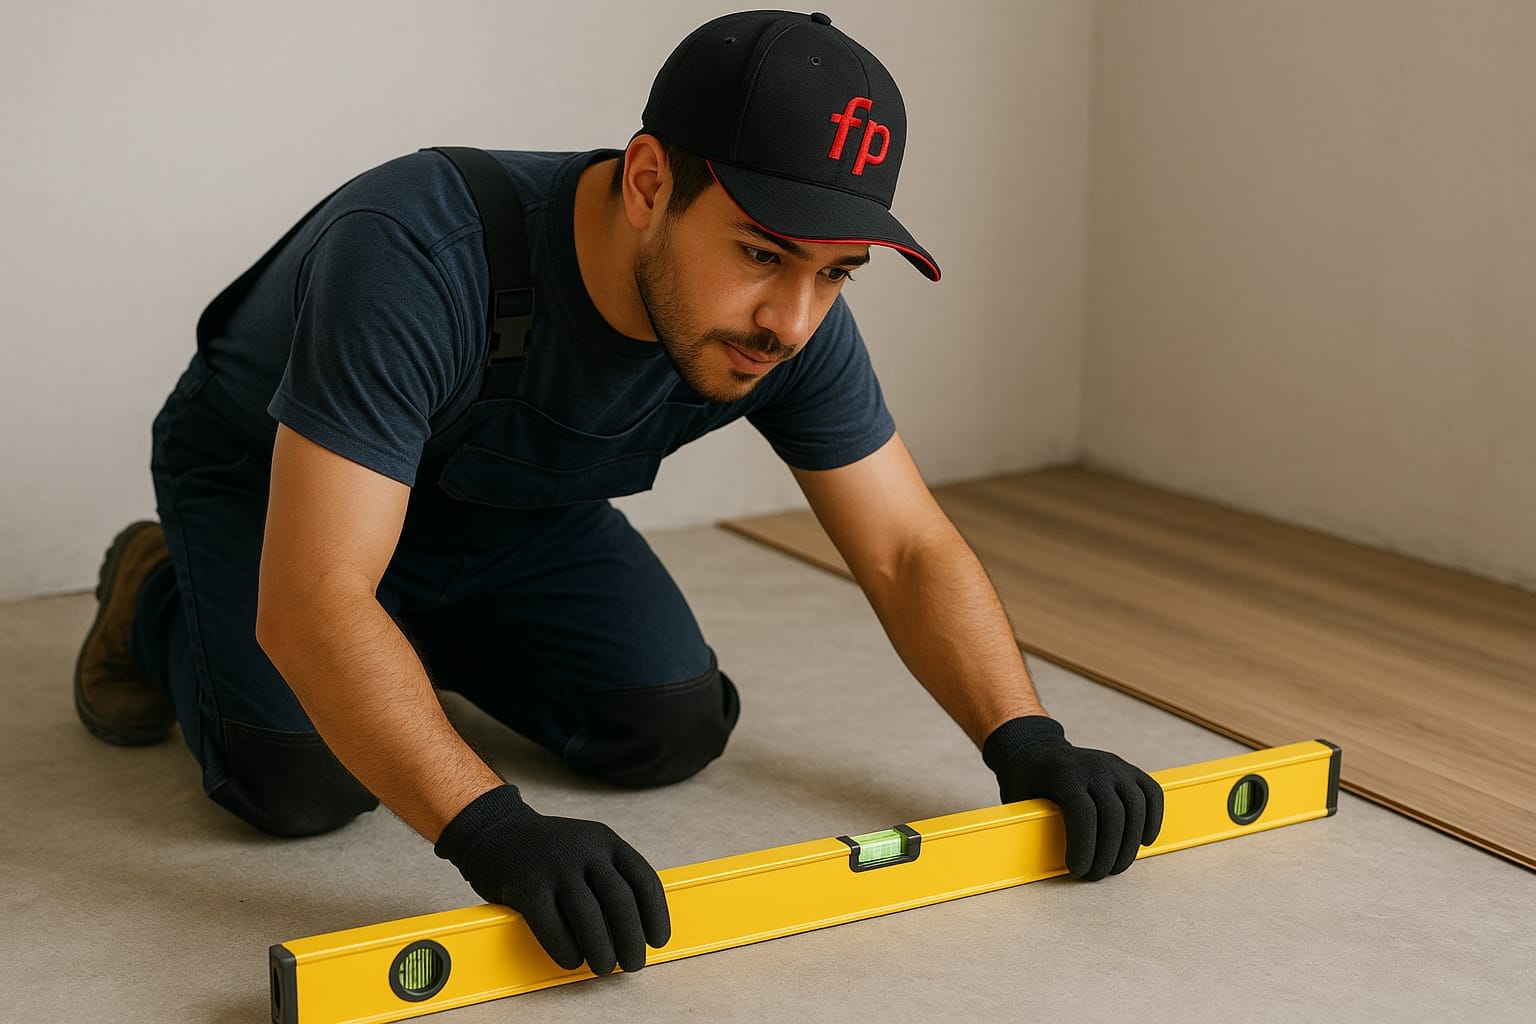
You are putting down new flooring, which means everything needs to be properly prepped and ready. The first step is obviously removing the old flooring, which includes the molding and baseboards. You want a clean slate to start with. Once you’re down to the subfloor, ensure it is in proper condition as well, leaving only a clean, flat surface. Of course, what you find below might not be perfect and flat.
Use an underlayment for uneven floors. Using foam works great if it is only slightly uneven. Otherwise, consider sanding the floors and using something to patch them. You also want to ensure that no moisture will be able to get into the flooring, though some underlayment comes with that feature already. Check to make sure.
Finally, remember to allow the flooring to sit in the same room it will be installed in for around 48 hours. It needs to acclimate for at least that long.
Door jambs come next. While you can cut the flooring to match existing door jambs, cutting the trim instead is a better option. If you do this, the flooring can be slipped under it, leaving a better look and being far simpler than the alternative.
PRO TIP: Read these beginner mistakes for installing flooring. We know the post will be super helpful.
The first step is to plan the first and last rows out. From there, everything else will fall into place. Take note of the longest wall, then consider what the focal point is. You want to install flooring parallel to that. Now do some measurements. Keep these things in mind:
All that is left is to cut the first and last row. Using clamps to keep things secure is recommended. Otherwise, you do not need a special saw and can use whatever you are comfortable with, from a circular saw to a hand saw.
PRO TIP: Read our article on flooring and how to choose before you start!

Now, it’s time to install the underlayment. As mentioned before, an underlayment helps even floors, but it serves other purposes as well. That being said, some flooring comes with an underlayment layer attached. If that is the case, you might not need to do this step, but that might not be true either.
The underlayment needs to be installed one way or another due to its many functions, which are:
While it does protect against moisture, in particularly humid rooms, you should install a separate layer called a vapor barrier. This will further protect the flooring you are installing. After determining these things, cut the underlayment for the room, ensuring any separate rows meet but do not overlap. Things need to remain flat.

Finally, it is time to install the flooring, which should be the easy part after thorough preparation.
Proceed to follow the same process with the rest of the rows, starting where you did with the first row and so on to ensure the most natural look. Try to stagger seams and avoid gaps. Once you do this throughout the room, complete the look with matching:
This is a project that you are more than capable of doing. In fact, if you follow this article, you will find most of your questions answered. Of course, each room and flooring is different, but the process is quite similar regardless. It really can be as simple as preparing the area, measuring the room, and snapping things together.
In addition to installing flooring on your own, you can hire a company to do it for you. If you are located in Augusta Georgia or any of its surrounding areas, Flooring Pros is highly recommended. Flooring Pros is a flooring store that sells products and offers installation services. Give them a call or contact them here for a free quote or to find out more about how they can help.
We truly hope that you have learned a lot from our blog post. Hopefully, you now have more confidence and understanding when it comes to how to install laminate flooring.


Built to help contractors keep flooring jobs moving -with materials, pricing, install support, and estimating tools from one place.
246 Bobby Jones Expy Suite A2, Augusta, GA 30907
© Flooring Pros Of Augusta 2026. All Rights Reserved
Privacy Policy | Accessibility | Sitemap