Affordable Waterproof LVP Flooring in Augusta, GA
$2 to $2.5 Waterproof LVP in Augusta | Affordable Durable Flooring Discover why waterproof luxury vinyl plank (LVP) floo...
Read the full article →

To stagger vinyl plank flooring, ensure the seams are at least eight inches apart among adjacent rows. Adjust the lengths of some planks if necessary to create the desired stagger, and plan for the layout before attaching an entire row.
When installing vinyl plank flooring, one important technique to consider is staggering the planks. This involves arranging the planks so that the seams are not aligned, creating a more aesthetically pleasing and stable floor. By following this method, you can ensure that the seams are staggered at least eight inches apart among adjacent rows.
This helps prevent the flooring from popping or moving over time. We will explore the steps to stagger vinyl plank flooring for a successful installation. Let’s get started, and we will tell you how to achieve that perfect staggered appearance.

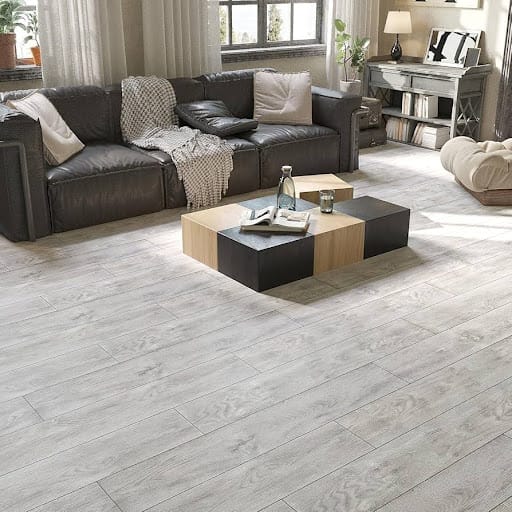
Credit: proflooringzone.com
To stagger vinyl plank flooring, ensure seams are at least 8 inches apart for a professional finish. Start the second row with an offcut plank to create a pleasing staggered appearance across the room. Adjust plank lengths accordingly for a well-planned layout.
Staggering is a crucial step in the installation of vinyl plank flooring. It refers to the arrangement of the planks in a way that creates an aesthetically pleasing and structurally sound layout. By staggering the planks, you avoid having any continuous lines or seams running across the entire floor, which can make it appear monotonous and unattractive. Moreover, staggering the planks helps to distribute the weight and pressure evenly across the flooring surface, enhancing its stability and preventing any potential issues in the future. When the planks are staggered, it creates a stronger bond between them, reducing the chances of movement or shifting over time, especially in high-traffic areas.
Proper staggering technique dramatically contributes to the overall stability and durability of your vinyl plank flooring. When the planks are staggered, it allows for a more balanced distribution of weight and pressure throughout the floor. This helps to minimize the risk of any individual planks or seams being subjected to excessive stress or load, which could lead to damage or premature wear and tear.
Additionally, staggering the planks helps to prevent any potential issues related to expansion and contraction caused by changes in temperature and humidity. Vinyl plank flooring is known to expand and contract with fluctuations in environmental conditions.
Staggering the planks allows room for the flooring to naturally adjust and accommodate these changes, reducing the likelihood of buckling or warping. In conclusion, understanding the significance of staggering when installing vinyl plank flooring is crucial to achieving a stable and visually appealing final result.
By following proper staggering techniques, you can ensure the long-term durability and aesthetic appeal of your flooring while also minimizing the risk of issues associated with movement and environmental factors.
Learn the Recommended Staggering Technique for installing vinyl plank flooring. To create a pleasing staggered appearance, end the first row with a short piece and start the second row with a long tile or plank on the same side of the room.
This helps to lock the flooring in place and reduce movement over time.
In order to achieve a seamless appearance with your vinyl plank flooring, it is crucial to follow the recommended stagger patterns. Proper staggering ensures that the joints between planks are not aligned, creating a more natural and aesthetically pleasing look.
When staggering vinyl plank flooring, it is essential to maintain a minimum distance of eight inches between the ends of planks in adjacent rows. This staggered pattern helps distribute weight and minimizes the risk of seams lifting over time.
For a seamless finish, the last plank in one row should be shorter, while the first plank in the next row should be longer. This staggered arrangement creates a visually appealing layout that simulates the look of natural wood flooring.
Remember to plan and adjust plank lengths as needed to achieve the desired stagger pattern before securing the planks in place. Staggering the seams effectively can enhance the longevity and stability of your vinyl plank flooring.
Staggering vinyl plank flooring during installation is crucial for a professional finish. Begin by measuring and cutting planks to create an offset pattern between rows, typically at least eight inches apart. Planning and adjusting plank lengths will ensure a visually appealing staggered appearance.
Before starting, measure the dimensions of the room and plan the layout of the vinyl planks. Consider which direction you want the planks to run for an aesthetically pleasing look.
Adjusting the lengths of some planks ensures that each row has a staggered pattern. Strategically varying the plank lengths creates a seamless appearance. Pro-tip:
Staggering vinyl plank flooring enhances its visual appeal and helps secure it in place for long-lasting durability.
To achieve a professional and visually appealing vinyl plank flooring installation, it’s crucial to start the planks at least eight inches apart between rows. Careful planning and adjustment of plank lengths may be necessary to create the desired stagger. This method helps to secure the flooring in place, reducing chances of movement and ensuring a seamless finish.
Before you start installing vinyl plank floors, it’s essential to determine the starting point. This will ensure that the planks are adequately staggered and create a visually pleasing pattern. One way to determine the starting point is to find the longest straight wall in the room. Start laying the planks parallel to this wall, as it will provide a straight reference line for the rest of the installation process.
Another method is to find the centre of the room and work outward. Divide the room in half lengthwise and mark the centre point. Begin laying the planks from this centre point and work towards the walls on either side.
Once you have determined the starting pits, it’s time to stand and ensure the plank is in place. When cutting the planks, be sure to measure and mark them accurately to ensure a tight fit. Use a utility knife or a vinyl plank cutter to make clean, straight It’s. Its essential planks are slightly shorter than the distance between the walls to allow for expansion and contraction.
When securing the planks, start by applying a small amount of adhesive to the back of each plank. Press the plank firmly into place, making sure it is level and aligned with the previous row. Use a rubber mallet to gently tap the plank into place, ensuring a tight and secure bond.
Following these steps will help you properly stagger vinyl plank flooring during the installation process. Remember to plan for the layout of the planks and make adjustments as needed. With the proper techniques and attention to detail, you can achieve a beautiful and seamless vinyl plank floor in your space.
When installing vinyl plank floors, it’s essential to note common mistakes that can jeopardize their integrity and appearance. By understanding and sidestepping these errors, you can ensure a beautiful and enduring installation. Let’s explore the most common mistakes to avoid when staggering vinyl plank flooring.
One common mistake when installing vinyl plank flooring is insufficient staggering. If the planks are not appropriately staggered, it can lead to weak spots and a less visually appealing floor. This occurs when the end joints of adjacent rows align, creating a potential weak point in the flooring. To avoid this, ensure that the seams are staggered at least 6-8 inches away from each other among adjacent rows, creating a more robust and visually appealing installation.
Another mistake to avoid is improper planning. Failing to plan the layout of the planks can result in an unbalanced or unsightly appearance. Designyout of the planks needs to note the lengths of the planks and adjust them as necessary to create the desired stagger. Without proper planning, you may end up with misaligned seams and a flooring surface that lacks aesthetic appeal.

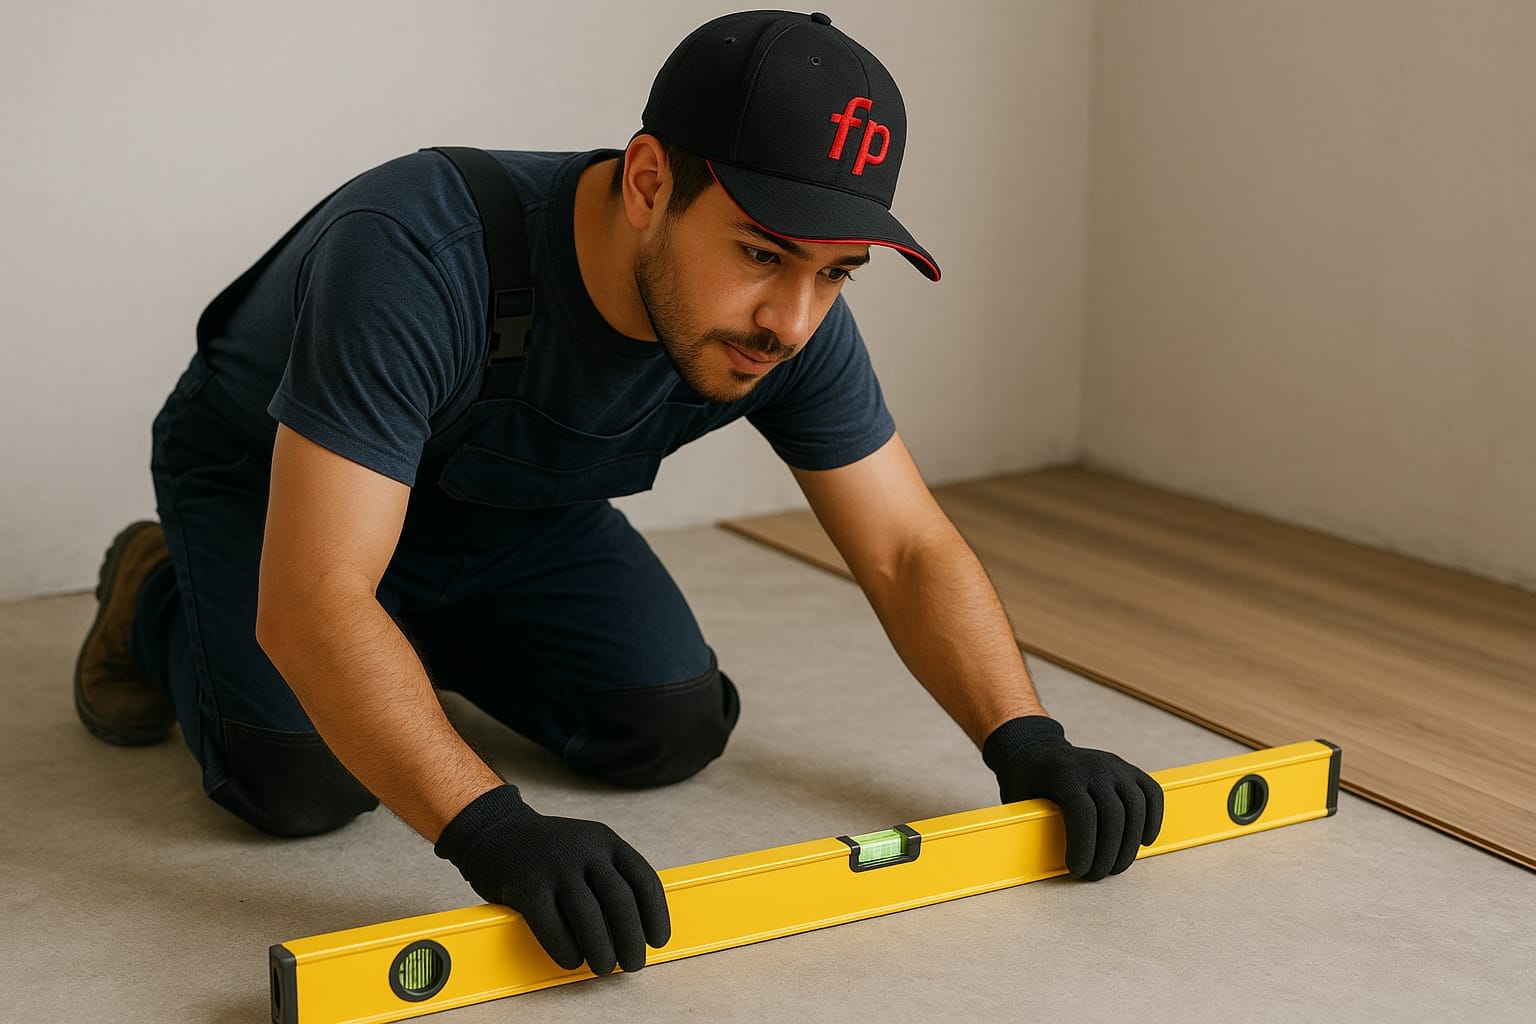
Credit: www.thewcsupply.com
When installing vinyl plank flooring, staggering is a crucial factor in ensuring a professional and aesthetically pleasing finish. Proper staggering not only enhances the overall look of the flooring but also plays a significant role in its structural integrity and longevity. Here are expert tips for staggering vinyl plank flooring to achieve a flawless result:
To ensure the long-term durability of your vinyl plank floor, it’s essential to use the proper staggering technique. Staggering the planks helps distribute weight and stress across the entire floor, minimizing wear and tear in high-traffic areas.
This technique also prevents the development of visible seams and ensures the stability of the installation. Proper staggering is critical to maintaining the integrity of the flooring over time.
| Expert Tips for Staggering Vinyl Plank Flooring |
|---|
| Ensure each plank in a row is staggered with the previous one by at least 6 inches to create an offset pattern, preventing the alignment of the seams. |
| While staggering, maintain a balanced appearance by avoiding repetitive patterns and ensuring that the end seams are not aligned in adjacent rows. |
| Measure and plan to avoid narrow or irregularly shaped end pieces, achieving a consistent and visually appealing stagger. |
| Utilize a tapping block and a mallet to secure the planks tightly together, maintaining the staggered alignment throughout the installation process. |
| Before attaching an entire row of planks, adjust the lengths to create the desired stagger and plan the layout to avoid any unnecessary adjustments later on. |
To achieve the best stagger pattern for vinyl plank flooring, keep the seams at least eight inches apart between adjacent rows. Adjust plank lengths as needed to maintain the desirable stagger. Planning the layout ahead of time will ensure the desired result.
For a professional finish, stagger vinyl plank flooring at least eight inches between adjacent rows. Begin the second row with the offcut of the first row to create an aesthetically pleasing appearance. Ensure the layout is planned to adjust plank lengths as needed.
For a professional finish, stagger vinyl planks at least eight inches apart in adjacent rows. This prevents movement and popping seams over time.
To stagger a floating floor, follow these steps: Start the second row with the leftover plank from the first row, ensuring it is at least six inches away from the end. Continue this pattern for the rest of the rows, staggering the planks to create an appealing appearance and secure the flooring in place.
Installing vinyl plank flooring can be a challenging task, but staggering the planks is crucial for achieving a professional and visually pleasing result. By following the recommended guidelines of staggering the seams at least eight inches apart, you can ensure the durability and stability of your vinyl flooring.
Remember to plan and adjust the plank lengths accordingly to create the desired stagger. This will minimize the chances of movement and popping seams in the future. Happy flooring!


Built to help contractors keep flooring jobs moving -with materials, pricing, install support, and estimating tools from one place.
246 Bobby Jones Expy Suite A2, Augusta, GA 30907
© Flooring Pros Of Augusta 2026. All Rights Reserved
Privacy Policy | Accessibility | Sitemap