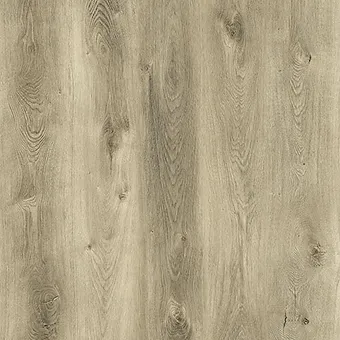
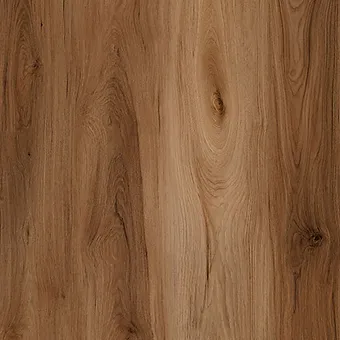
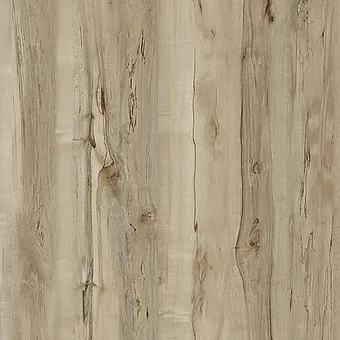
Too many flooring brands—and not enough clarity? Find an LVP floor that fits your rooms, daily wear and project budget.
Start with the locking joints and the subfloor beneath them. Then compare wear layer, plank thickness and total price. A thicker plank can help, but its thickness alone does not prove a stronger locking system.
Before comparing samples, note your rooms, daily traffic and whether you need materials or a complete installation. Then use these four checks to choose a floor that fits the job and is worth the price.
A low price, a thick plank and a large wear-layer number can all look convincing. None of them proves that the locking joints are strong. Start with the connection and the subfloor that supports it, then compare the features and cost.
Our buying priority: Locking quality and proper subfloor support first. Wear protection next. Plank construction and thickness after that. Choose the best complete price among the floors that meet those needs.
For homeowners and less-experienced installers, Flooring Pros recommends avoiding tap-and-go LVP with a short end that must be tapped down from above. Choose a well-made angle-tap product your installer can stand behind.
Our recommendation comes from the short-end failures we have encountered and the concerns other installers have brought to us. A lower price, a thicker plank or a 20 mil wear layer does not make up for a connection you cannot trust.
Before you order: Ask the seller to connect two full planks. Watch the short end. If it is seated by tapping downward from the top, stop and compare an angle-tap option with your installer before buying.
Breakage before the room is finished. A chipped or broken locking edge means replacing a plank, losing material and spending more time on the job.
Noise, movement and open seams. A weak, damaged or incompletely engaged connection can lose its hold. Dips and movement underneath can stress that joint repeatedly.
Repairs after the furniture is back. Failed connections can mean clearing the room and taking flooring apart to replace damaged planks. Saving on the box price is little comfort then.
Thickness cannot repair a weak lock, and a stronger lock cannot flatten a dip. Choose the connection and prepare the subfloor together.
Across 12 years of retail flooring installation experience, we have seen short-end joints break and seams separate on some tap-and-go floors where dips allowed repeated movement underfoot. Those experiences are why we favor well-made angle-tap products and look beyond price, thickness and wear-layer numbers.
A forgiving joint matters in a real home. In our installation experience, well-made angle-tap products have been more forgiving of small variations in a properly prepared subfloor than the top-tapped products we have had trouble with. We want a connection that can accommodate minor movement without easily breaking. That practical benefit is a major reason for our preference.
Installers ask us about this before they buy. Installers who come to Flooring Pros regularly ask whether a plank’s short end has to be tapped down from the top. They tell us they ask because they have experienced problems with that connection on other jobs. Those conversations reinforce what we have seen in the field.
We need to be able to stand behind the installation. Customers sometimes bring us flooring purchased at Floor & Decor and ask us to install it. We have declined products with locking systems we cannot confidently install and warranty because of problems we experienced previously.
Before buying flooring elsewhere, have us review the exact product. Send the product number, installation guide and photos of your rooms. We will tell you whether it is a floor we can install and stand behind, and discuss the preparation it needs.
Reddit contributor Netsecrobb-, who says they install NuCore regularly, calls it easy to install but warns that movement can break or separate the drop-lock connections. They emphasize subfloor flatness.
Contributor foxxen89 reports breakage while adjusting or removing planks. They identify the color as Sugar Sand but are unsure of the collection. Their account concerns handling and rework, not a controlled joint-strength test.
In a Houzz NuCore discussion, Renee Be reports planks breaking during installation and lost installation time. Another contributor, laurenposma, reports breakage during installation and persistent popping.
In an August 2019 comment, Lisa L. Ladue reports gaps and separation after a contractor installed her NuCore floor. She says the warranty claim was declined as an installation issue.
Reddit contributor Capital-Yard45230 initially blamed their NuCore floor for popping, cracking and broken ends. After replacement, they updated the report: they attributed the problem to flexing underlayment and poor installation over an uneven, damaged surface. This account illustrates why the support below the joint must be investigated alongside the plank.
Our takeaway for your purchase: We recommend an angle-tap option we can evaluate and stand behind. Have us review the exact plank and your subfloor before you commit your money.
A top-tapped end can look close to seated while it is misaligned or damaged. The NuCore guide and DuraLux Performance guide both warn that forcing an out-of-line end joint can permanently damage it.
Measure before laying. Check the subfloor with the straightedge length and flatness limits in the exact product instructions. Correct unsupported low spots; clean away grit and debris. Do not assume attached padding will fix a dip.
Practice the specified connection. Assemble a small panel on a flat, firm surface. Learn the alignment, tools and seating method for both edges before starting the room.
Stop at breakage, raised ends or gaps. Do not keep hitting an end that will not seat. Check alignment, debris, damaged profiles and support. Set damaged planks aside and resolve the cause before adding rows.
Use the correct disassembly method. These two guides describe lifting the row at its long edge, then sliding the short-end joints apart. Bending an end upward to release it can damage a joint designed to slide apart.
Decline a product you cannot confidently install. Discuss the exact flooring and preparation with the customer before accepting the job. A fast installation promise is not a reason to ignore failing joints.
Already hearing clicking or seeing seams separate? Stop and document the affected areas. Check the product, engagement, subfloor and approved underlayment before continuing. Changing to angle-tap still requires proper preparation.
These names do not describe the same locking design. If a seller calls a floor “tap and go,” ask for the exact system name and instructions. Uniclic is a specific angle-tap technology; drop-lock or fold-down describes a family of systems.
| What to check | Uniclic · angle-tap | Drop-lock / fold-down |
|---|---|---|
| How it connects | Allows angling and horizontal tapping. Follow the flooring manufacturer’s method for each edge. | The short end engages downward. The long edge may use an angle connection. |
| What holds it together | A flexible lower lip and tongue, with pretension that draws the connected planks together. | The profile varies. Unidrop also uses pretension; it and i4F’s 3L TripleLock are one-piece designs without plastic inserts. |
| What DIY buyers should see | How to angle it together, where horizontal tapping is allowed, and which tools the product requires. | How to align and fully engage the short end. Some designs require a specified mallet; simply dropping the end may not finish the connection. |
Design and installation descriptions: Unilin Uniclic, Unilin Unidrop and i4F drop-lock.
Our preference is a well-made angle-tap connection. Check the exact product’s locking edges and assembled joints, and include the preparation it requires. Angle-tap still needs a subfloor within the manufacturer’s flatness tolerance.
Ask before buying: “Which locking system is on this exact floor, how do both edges engage, and what test evidence supports its strength?” A thicker plank, a familiar system name or a faster installation promise cannot answer all three.
Unilin describes a lower locking lip that bends during assembly and a profile that keeps slight tension between connected planks, pulling them together. It also describes features intended to limit movement at the joint and reduce creaking. Watch its explanation, then have the seller demonstrate your exact flooring.
Watch the Uniclic explainer on YouTube ↗
Source: Unilin’s explanation of the flexible lip, pretension and anti-creak design. These features explain how the joint works; they do not specify how much subfloor unevenness a finished flooring product permits. Also watch the Uniclic and Unidrop overview.
Shopping at Floor & Decor? Check the short-end connection on these examples. Their linked installation guides describe angling the long edge and engaging the short end downward. If you want an angle-tap connection at the short end, have the seller show you that exact movement before buying.
Floor & Decor · Product #100956788
The linked guide directs installers to lower the plank and seat the short end downward with a rubber mallet. It warns that forcing a misaligned end joint can permanently damage it.
Floor & Decor · Product #101076313
The sales page describes an “angle-and-tap” installation. Its linked guide shows the long side angled in, followed by a downward short-end connection seated with a rubber mallet. The sales phrase alone does not identify how the short end locks.
What to watch out for anywhere you shop: A low price or a “DIY-friendly” label without a clear short-end demonstration, matching installation instructions and a plan for the required subfloor preparation. If the seller cannot explain those details, pause before ordering.
Have a product label or quote already? Bring it to Flooring Pros for help comparing the locking details and complete project price.
Inspect the edges. Ask to see full planks of the exact product. Look for cracked tongues, chipped grooves or damaged corners before assembly.
Try a gentle hand-flex check on a scrap sample. Ask the dealer for a piece you may damage, then gently flex the exposed locking edge with your fingers. If it chips, crumbles or snaps during light handling, flag that concern before buying. This may reveal an edge that is easily damaged during installation. Do not keep increasing the force just to make it break.
Connect both types of joint. Have the seller assemble a small panel on a flat, firm surface using the product’s written instructions. Watch the long edge and the short end engage.
Check the assembled seams. Look and feel for unwanted openings or raised edges, allowing for the product’s designed bevel. If a joint will not close correctly, resolve the cause before choosing the floor.
What the hand check tells you: Easy damage during light handling is a reason to investigate. Breaking an unsupported locking lip or bending a plank until it snaps does not, by itself, establish the strength of the assembled floor. Some connections also release when angled as designed; i4F’s instructions show an example. Use the product’s joint-strength test results to evaluate strength claims.
If a seller claims a stronger lock, ask for the test report for the product you are buying. Useful evidence includes:
| Horizontal joint-strength test | Measures the force that pulls an engaged connection apart or breaks it. |
| Vertical-load test | Checks how the joint handles a downward load, especially at the short end. |
| Repeated-load test | Tests such as a castor-chair test examine how the assembled floor handles repeated rolling loads. |
These test types are described by Unilin Technologies and i4F. Compare results using the same method, units and conditions. The locking-system name alone is not a test result for a finished plank.
Your decision: Our recommendation is to pass on top-tapped short-end LVP and compare an angle-tap product your installer approves. Reject damaged edges or joints that will not engage correctly, and budget for proper subfloor preparation before comparing final prices.
The subfloor is part of this decision. Low spots or movement underneath can let planks flex and stress their connections. Even a well-made locking system needs the support specified by its manufacturer. See the subfloor checks and preparation guidance.
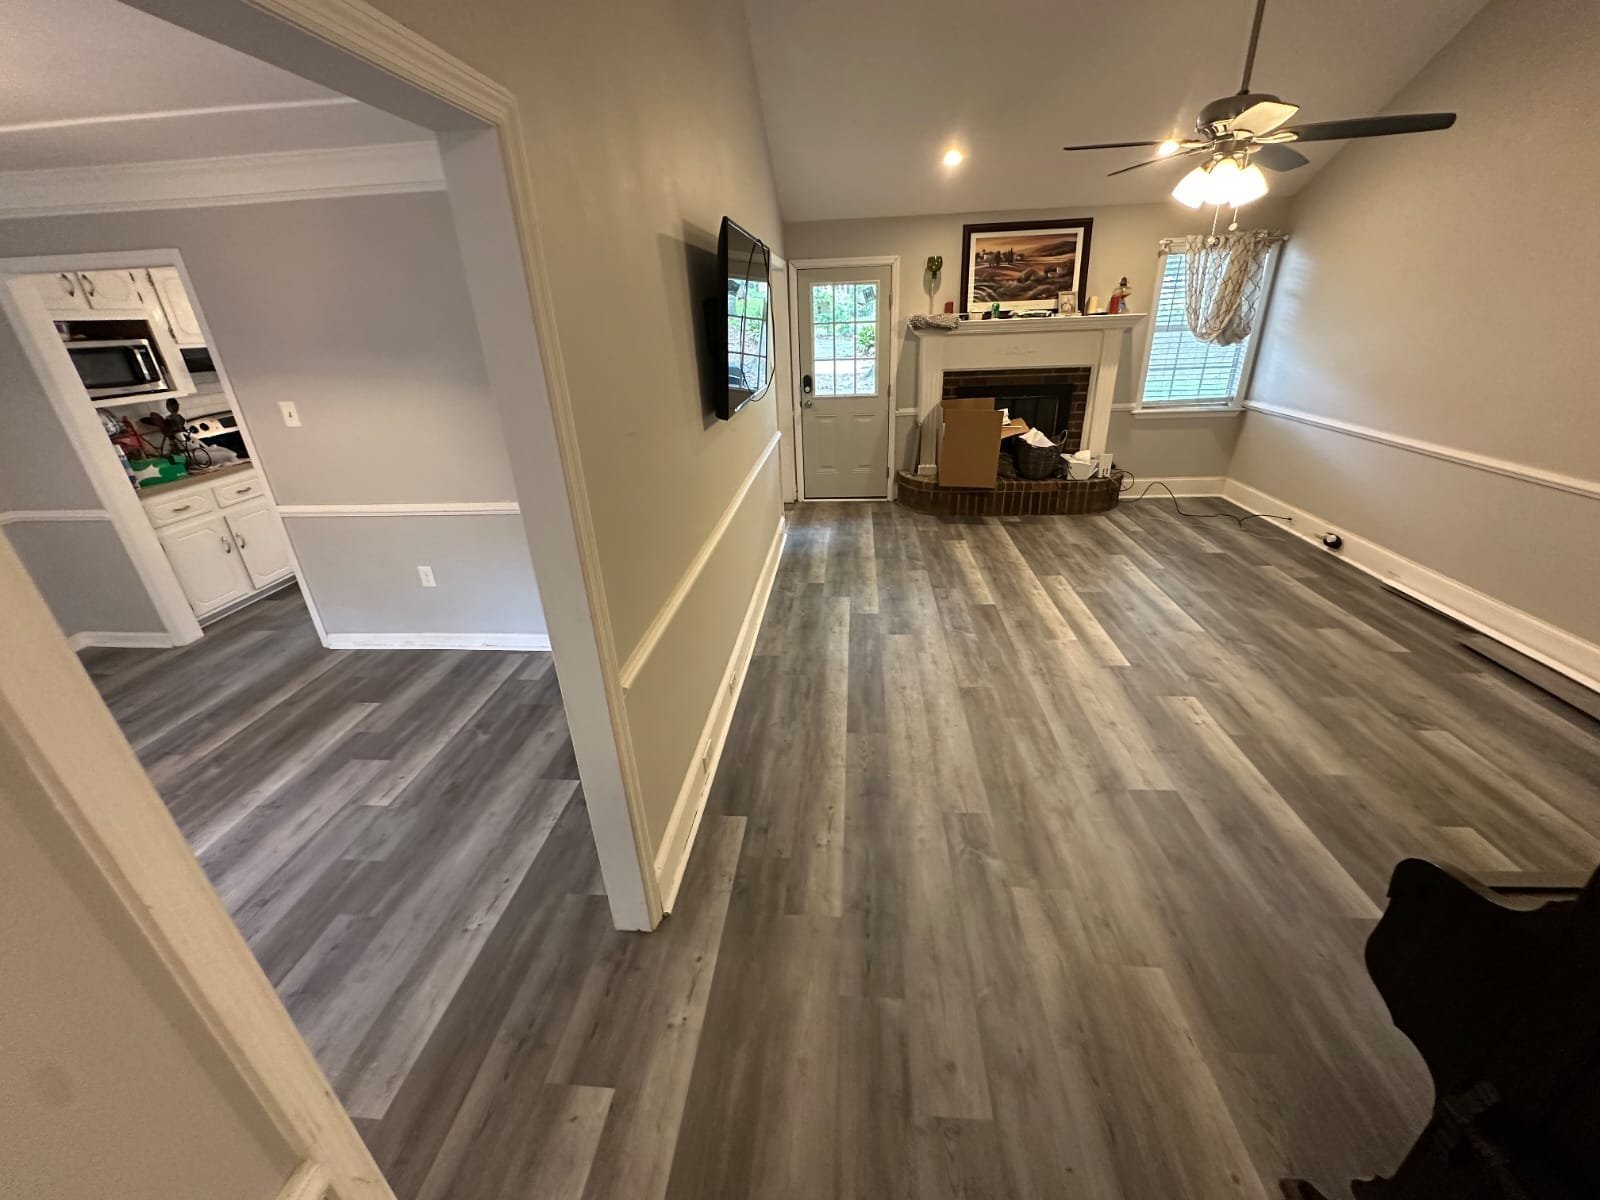
Your house does not have to be perfectly level. Level describes slope; flatness describes high and low spots over a measured distance. A floor can slope and still be flat. The goal is a clean, stable, properly supported surface that meets the selected product’s written requirements.
Use the product’s numbers to decide what needs correction. For example, Quick-Step’s rigid vinyl guidance requires correction above 4 mm over 2 m, or 1 mm over 20 cm. A quarter-inch gap is about 6.35 mm and exceeds either of those limits over the corresponding span. A small variation that is permitted by the selected product’s instructions does not, by itself, mean the whole room needs leveling compound.
Example requirements: Quick-Step subfloor guidance and the rigid vinyl installation guide. Use your selected product’s limits.
Ask the installer to show you the measured high and low areas, explain which fall outside the product’s limits, and identify the appropriate correction. Local patching or removing a high spot may be enough in some rooms; others need more extensive work. The condition of the floor determines the scope.
Our approach: Choose a forgiving connection and pay for the preparation the job needs. A stronger joint adds confidence, but it does not automatically reduce the amount of leveling compound required or change the manufacturer’s tolerances.
A stronger lock cannot substitute for proper floor preparation. Before starting a DIY installation—or accepting an installation quote—check these three things:
Flatness: Use a straightedge of the length required by the product instructions to identify high and low spots. Compare the gaps with that product’s stated tolerance and correct the floor as required. Flatness and level are different measurements.
Cleanliness, stability and moisture: Remove grit, debris and protrusions; sweep and vacuum thoroughly. Investigate loose, squeaking or flexing areas and address moisture concerns. Cleaning the floor does not flatten a dip.
Support and engagement: Use only approved underlayment; do not assume extra padding helps. Follow the exact alignment, tapping, joint-engagement and expansion-space instructions.
For an example of why these checks matter, i4F’s installation guide calls for a clean, even, stable subfloor and joints without gaps or height differences. Always use the finished flooring manufacturer’s requirements for your exact product.
If the floor starts clicking, rocking or separating during installation, stop and check the cause before adding more rows. Confirm the support, alignment and joint engagement; do not force or glue a connection unless the product instructions call for it.
A floor can still be locked together and look worn out. Busy walkways, tracked-in grit, moving chairs and pets all challenge the surface. To choose well, compare wear-layer depth, the protective finish and the product’s intended use together.
The wear layer is the clear material above the printed wood or stone design. It gives everyday abrasion material to wear away before reaching that image. With comparable materials and construction, more depth provides a larger reserve against wear-through. Once the design is worn through, LVP cannot be sanded back and refinished like solid hardwood; affected planks need replacement.
Mil is not millimeter. One mil is one-thousandth of an inch. A 20 mil wear layer is about 0.51 mm thick; it is only one part of a plank that may measure 5 mm or 8 mm overall.
Read the manufacturer explanation: Flooret’s guide to wear layers and wear-through.
| Wear-layer depth | Helps protect against gradual wear reaching the printed design. It does not tell you how easily a sharp object can mark the top surface. |
| Protective finish | The coating above the wear layer affects scratch, scuff and stain resistance. Ask for its name and construction. For example, Mannington uses aluminum oxide in its ScratchResist coating to improve resistance to household scratches. |
| Measured performance | Ask for abrasion and scratch results for the exact product, using comparable test methods. A finish name or a larger mil number alone cannot rank every floor. Dent resistance is another property: the core and the load on it also matter. |
Examples: Mannington’s aluminum-oxide finish explanation and Flooret’s specification sheets, which list finish, wear layer and performance tests separately.
12, 20, 22 or 30+ mil: where should you start?
Use these as shopping starting points, then confirm the exact product is approved for your rooms and use.
| Wear layer | Buyer’s starting point |
|---|---|
| 12 mil 0.30 mm | Lighter residential use. Worth considering for a quieter bedroom or budget-conscious project when the product’s rating fits. |
| 20 mil 0.51 mm | Busy homes. A useful starting point for main living areas, pets and rentals. Check the finish and rental-use coverage. |
| 22 mil 0.56 mm | A modest increase over 20. Compare the finish, warranty and price before paying more for the number. |
| 30–40 mil 0.76–1.02 mm | More reserve against wear-through. Consider for demanding traffic or an approved commercial use; weigh the premium against your actual needs. |
Put the upgrade in perspective: 20 mil has about 67% more wear-layer thickness than 12 mil. The increase from 20 to 22 mil is 10%. These are thickness differences, not promised increases in lifespan or scratch resistance.
Mannington’s ScratchResist video gives you a concrete example of a manufacturer demonstrating its protective coating. Use it to ask a better question at the showroom: “What protects this floor’s surface, and what evidence supports that claim?”
Watch Mannington’s finish demonstration ↗
This is a manufacturer demonstration of its own finish, not a standardized comparison of all LVP. A coin demonstration does not establish resistance to every kind of grit, pet claw or dragged object.
Look for the definitions of wear-through, scratches, dents and loss of gloss. They can be treated differently. For example, Flooret’s warranty excludes certain scratches and indentations from excessive use and treats loss of gloss separately from finish wear. COREtec offers a separate scratch warranty on selected styles. Get the document for your exact floor before buying.
Check the examples: Flooret’s written warranties and COREtec’s warranty guidance.
Protect the finish you paid for: remove grit regularly, use suitable entrance mats and furniture protectors, and follow the product’s care guide. Extra mils do not make a floor scratch-proof.
Care guidance: COREtec’s maintenance recommendations.
Our buying advice: For a busy household, start by comparing well-made 20 mil options with documented surface protection. Pay more when the finish, wear reserve or relevant coverage adds value for your home. Keep locking strength and subfloor suitability first.
Thickness matters when you walk on the floor—and when you look at the finished doorway. Choosing by color and price alone can leave a visible gap under an old casing, an awkward step into the next room or too little clearance for a door or appliance.
Total thickness is usually stated in millimeters (mm). Ask how much is the plank body and how much is attached padding. A label reading “6 mm including a 1 mm pad” means approximately 5 mm of board plus 1 mm of pad. It does not mean a 6 mm core.
Padding adds height and cushioning; it is not extra structural core. Manufacturer specifications can break these layers out. Flooret, for example, lists its Modin Base as a 0.5 mm wear layer, 3.5 mm SPC core and 1 mm pad, totaling 5 mm.
Construction example: Flooret’s layer-by-layer specifications.
| Comfort underfoot | A thicker foamed WPC construction can provide a more cushioned feel, useful where you stand for long periods. COREtec describes this benefit for its Originals WPC floors. Compare samples on the same firm surface so you can feel the difference. |
| Floor height | A thicker approved floor can bring the finished surface closer to existing casing cuts and adjacent flooring. That can reduce visible gaps or height differences and the amount of trim work needed. |
| Sound and feel | The core and attached pad work together. Compare the actual construction and sound-test conditions. A larger thickness number alone does not prove a quieter floor. |
SPC has a dense mineral-filled core and generally feels firmer. WPC uses a foamed core and generally feels more cushioned. A thinner SPC product can resist indentation better than a thicker foamed product. Choose around your priorities—standing comfort, furniture loads, floor height and the actual product’s test results.
Within otherwise comparable construction, a thicker body can increase stiffness. Across different materials and locking profiles, however, thickness alone cannot establish strength. A thick plank can still have a fragile locking edge, and both thick and thin floating floors need the specified subfloor support.
Compare the construction: Flooret’s SPC/WPC explanation and COREtec’s comfort and durability categories.
If a previous floor was thicker, the trim may already have been cut above the height of your new LVP. A thinner replacement can expose an unattractive gap under that cut. Place the actual sample at the planned finished height beneath existing casings. Include the attached pad once, plus any approved layers the installation needs.
A simple comparison: An 8 mm plank raises the surface 3 mm—about ⅛ inch—more than a 5 mm plank over the same prepared base. That closes 3 mm of an existing casing gap. It does not guarantee the gap disappears; measure the opening.
If the fit is still wrong, include casing repair or replacement, or an appropriate subfloor build-up, in the quote. Where trim has not yet been cut, undercut it to suit the selected floor and installation instructions. Preserve the required expansion space beneath the trim so the floating floor can move.
Installation reference: Flooret’s door-jamb guidance uses a scrap of the actual flooring to establish cutting height.
Adjoining rooms: Measure tile, hardwood and carpet heights. Choose the transition profile for the actual difference; a thicker plank can improve one doorway and make another harder to finish.
Doors and appliances: Check door swing clearance and whether a dishwasher can still be removed after the floor is installed.
Baseboards and stairs: Plan trim adjustments and matching stair components before placing the flooring order.
Do not stack soft padding to make a thin floor taller. Use only underlayment permitted for that product. Extra cushioning can allow movement that stresses the joints. Height corrections should be part of a properly supported installation plan.
See Flooret’s guidance on additional underlayment and click-joint movement. Requirements vary by product.
COREtec’s transition guide is useful when planning where your new LVP meets another surface. Ask your installer to identify the transition needed at each doorway and include it in the complete price.
Watch COREtec’s transition guide ↗
Apply this to our samples: the 5 mm UltraCore and 8 mm WPC Platinum Core listings both specify a 20 mil wear layer. Their total heights differ by 3 mm; their stated wear-layer depths are the same. Compare the feel, doorway fit and joint construction to decide whether the thicker option benefits your project.
Our buying advice: Choose the construction and finished height that suit your home. Have your installer check the samples at your doorways before ordering, then compare the full price including preparation, transitions and trim.
Ask for the material price and the finished project total. Match ordered square footage, removal, subfloor preparation, installation, trim, delivery and tax. A cheaper quote that leaves out necessary floor preparation is not the same job.
Ask where the savings come from. Some designs reduce manufacturing inputs: i4F describes material savings from its insert-free drop-lock design. That does not establish the strength of a particular plank or explain every retailer’s price. Compare the actual product and preparation scope.
For the same 1,100 sq. ft. of material:
Illustrative material-only differences, before tax. Final box quantities and the installation scope must also match.
Ask what the extra $550 buys. Better documented joint performance or necessary subfloor preparation may justify it. A higher price by itself proves neither.
Locking system & subfloor. Choose a connection your installer trusts. Check both joints and the support underneath before buying.
Wear layer & finish. Match surface protection to your traffic. Compare wear-layer depth, the finish and what the warranty covers.
Plank thickness. Compare the core, pad and feel. Check the finished height at door jambs, casings and adjoining floors.
Complete price. Compare the same scope, including preparation, installation and trim. Choose the best price among floors that pass the first three checks.
Now compare the four local options below. Bring a sample or product label, room measurements and doorway photos so we can help you apply these checks to your project.


It does not make the floor scratch-proof. Wear-layer depth helps protect against wear-through; the surface finish also affects scratch and scuff resistance. Compare the finish and product-specific coverage as well as the mil number.
No. Thickness can affect the floor’s build, feel and finished height, but it does not establish locking strength. Check joint quality and subfloor support first, then compare wear protection and construction. A thick plank can still have a weak or damaged locking joint.
No. Follow the product’s written installation and care instructions, address leaks promptly and check moisture conditions below the floor. Waterproof planks do not eliminate every moisture-related risk.
The price depends on your square footage, product, existing floor, subfloor condition and finishing work. Request a project price with material and labor listed separately.
Yes. Visit Flooring Pros at 246 Bobby Jones Expy, Suite A2, Augusta, GA 30907. Call (706) 750-0028 to check the samples or colors you want to compare. See showroom details.
Built to help contractors keep flooring jobs moving -with materials, pricing, install support, and estimating tools from one place.
246 Bobby Jones Expy Suite A2, Augusta, GA 30907
© Flooring Pros Of Augusta 2026. All Rights Reserved
Privacy Policy | Accessibility | Sitemap